Triumph Cyclops LED Headlight Upgrade

I recently ended up with a Triumph motorcycle and one thing I thought odd bout this bike, a 2022 model, was that it still had an old school halogen headlight. The headlight does have LEDs already installed in the lower half, but the main bulb remains halogen. So to remedy this issue, albeit minor and nitpicky, I decided to install a Cyclops 10.0 H4 LED headlight with the "Ultra" option. I had previously became aware of this LED light for a recent dual-sport install and I was pleased with the outcome. Indeed Cyclops gears it's hardware more towards the dirt-orientated crowd so I hadn't seen anyone stuff one of these bulbs into a Triumph modern classic motorcycle. Here's a bit of a how-to for this job.
Light Specs
| Type | Lumens | Color Temp |
|---|---|---|
| Philips H4 12342 BV+ | 900 | 3200K |
| Cyclops 10.0 H4 w/ Ultra | ~2500 | 5600K |
Install
We need to get the Triumph headlight apart so that we can swap in the new bulb. This is actually a bit easier that I had expected. Rather than take the entire light housing off the bike, we can just open the housing and pull our the headlamp assembly by removing the two 6MM allen screws (one on each side) shown below.
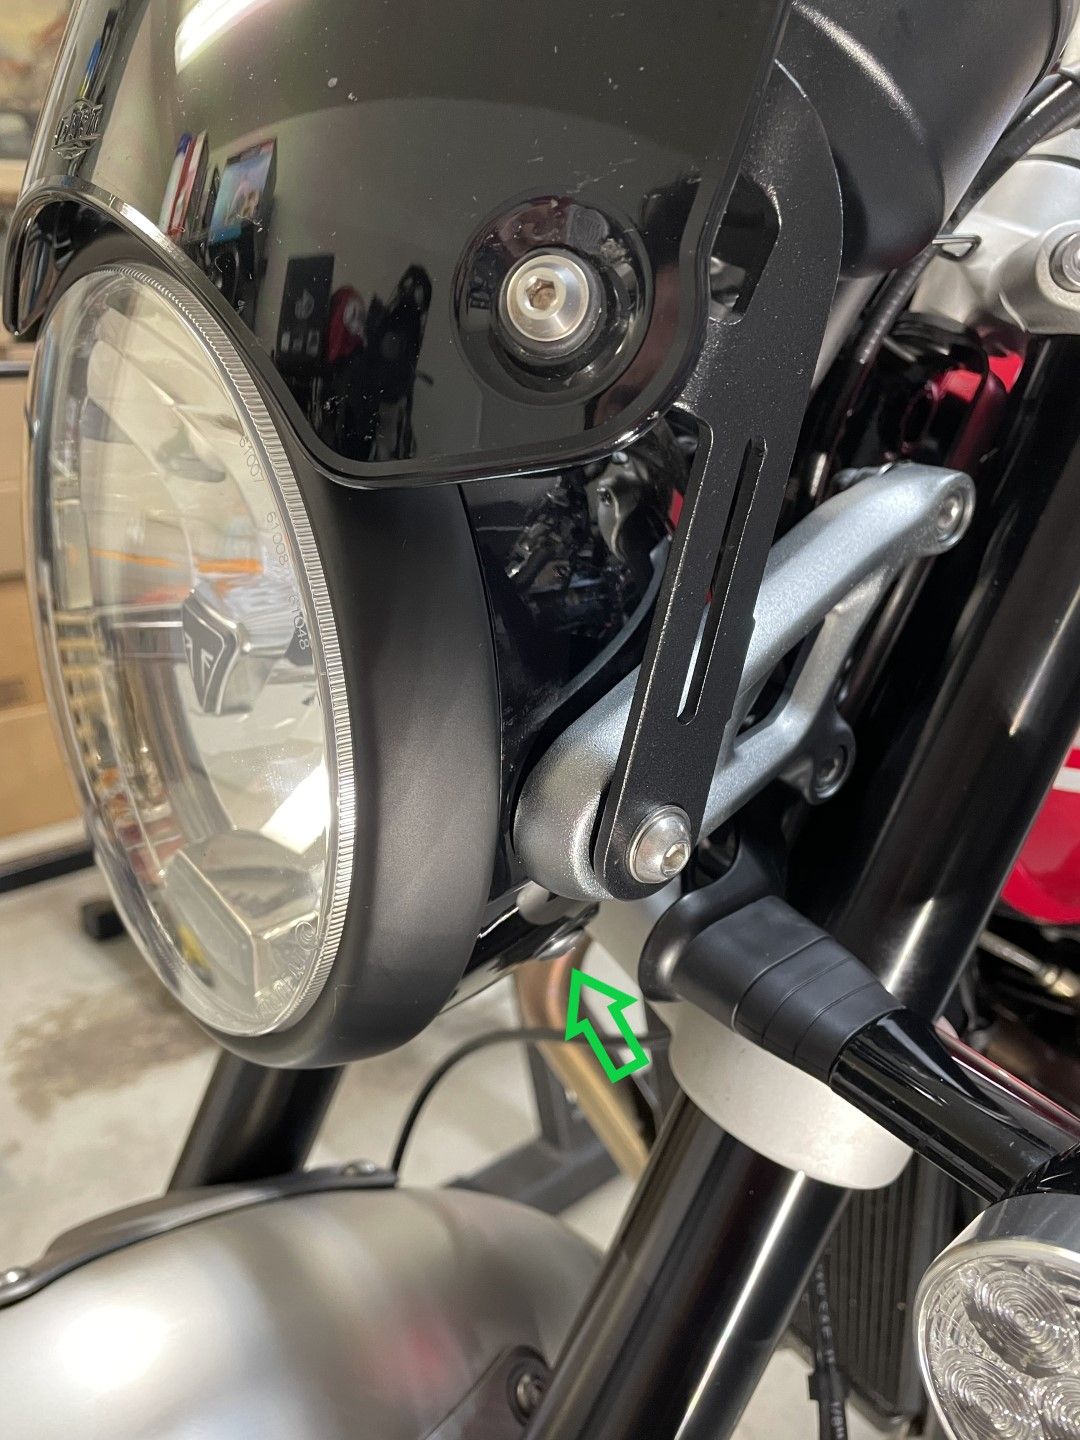
With both of those allen screws removed, we can get the light away from the light housing. You will need to rotate the light a bit (either direction should work) to clear the notch shown below. One clear from that notch, the light will just open.

Pulling the light apart, we can see two connections. One is for the LED controller and the other is for the H4 headlight bulb. The headlight bulb is a simple plug connection and just pulls apart. The LED controller cable is taught and requires a tool to push a pin in order to release the connection.

Both connections are now free, shown below.

With the headlight free we can move to a more comfortable surface to do this work. I used a terry cloth towel on a table to help prevent scratching the front of the headlight.

Remove the dust boot by lifting it off the light.
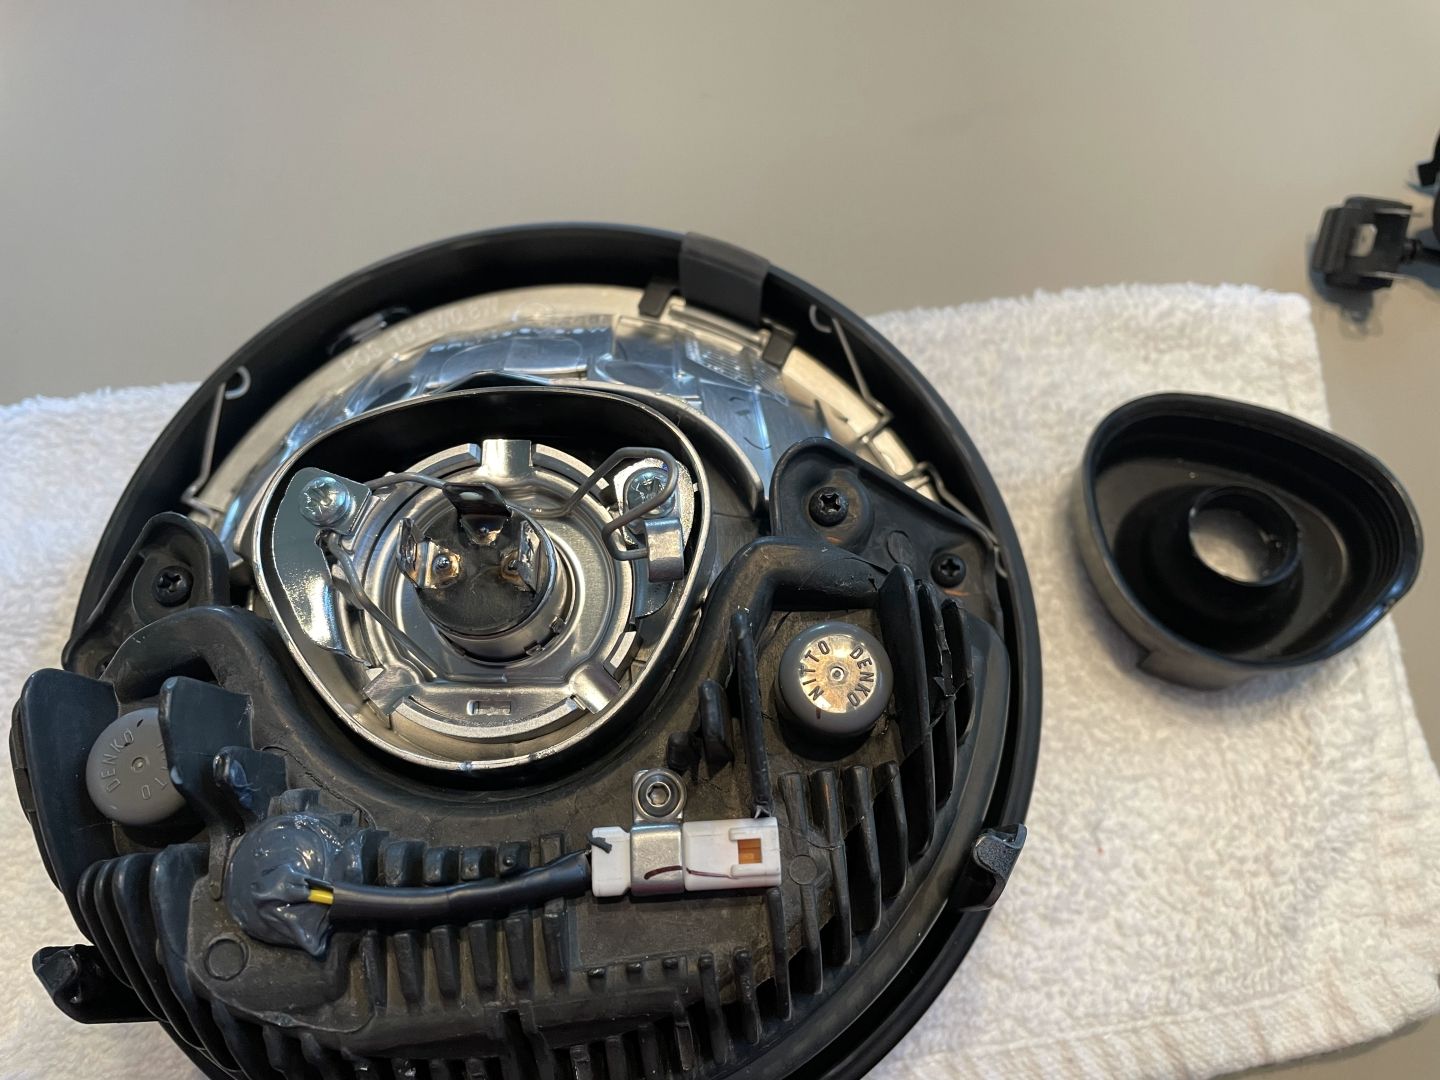
Open the retention clasp for the halogen bulb.

Remove the halogen bulb...pretty easy.

Next, we need to get this monster into the headlight. As you can, there's much more to this LED light overall, including a built-in fan. Note that the fan creates some new noise for this bike. When the bike is on (without the engine started), it's audible but not intolerable.
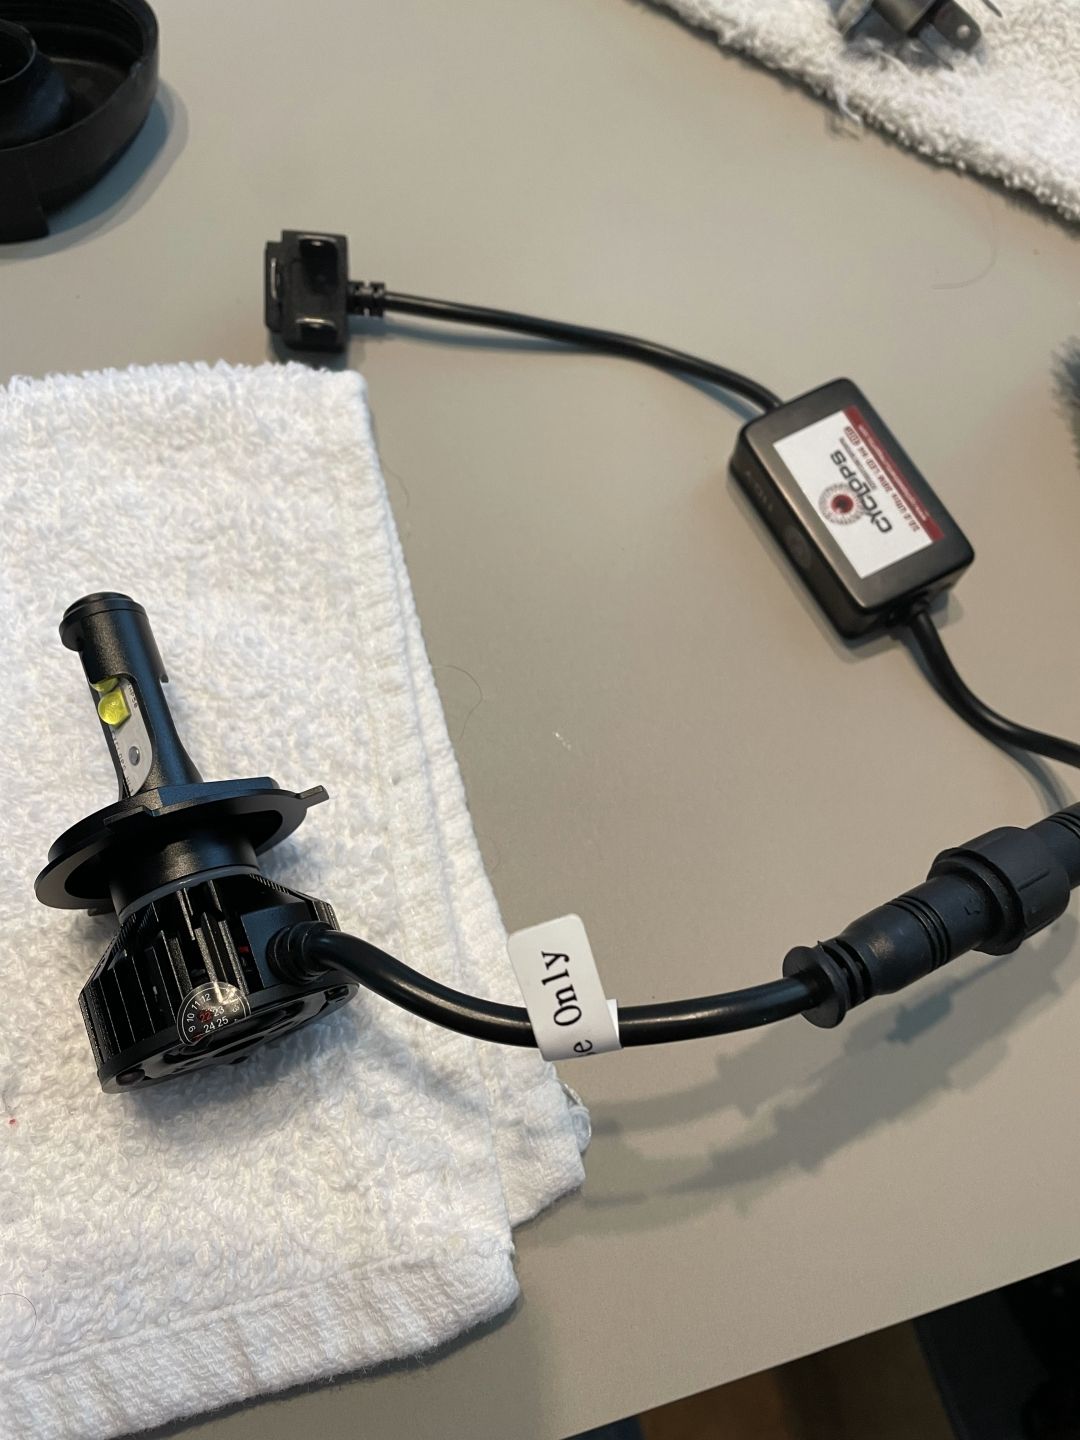
Smartly, Cyclops has setup their LED light to have a removable base. This really helps with the install. The base twists off easily. Also note that I have separated the bulb from its power supply. This is a nice touch by Cyclops so props to them!

We can then insert the LED light through the dust boot, similar to what is shown below. Note I have flipped the boot inside out to make it easier to work with.

Now install the base and right the dust boot.


You will need to be aware of the how the light and booth are orientated with one another. The LED light only installs one way, same as the boot. It should look something like the photo below.

With the boot roughly in the correct orientation, I then had to inside-out the boot again to get it installed into the headlight. You will need to work somewhat carefully on both sides and coerce the boot to get the LED light seated correctly.

With the LED light seated correctly, you should be able to close the retention clasp.

You can then set the booth right-side out once more and push it into place. Note that my boot didn't quite fit as well as it did with the halogen light installed. This is somewhat expected as the Cyclops LED light is just more substantial at this position. The dust boot covered the opening enough that I am not worried about it.

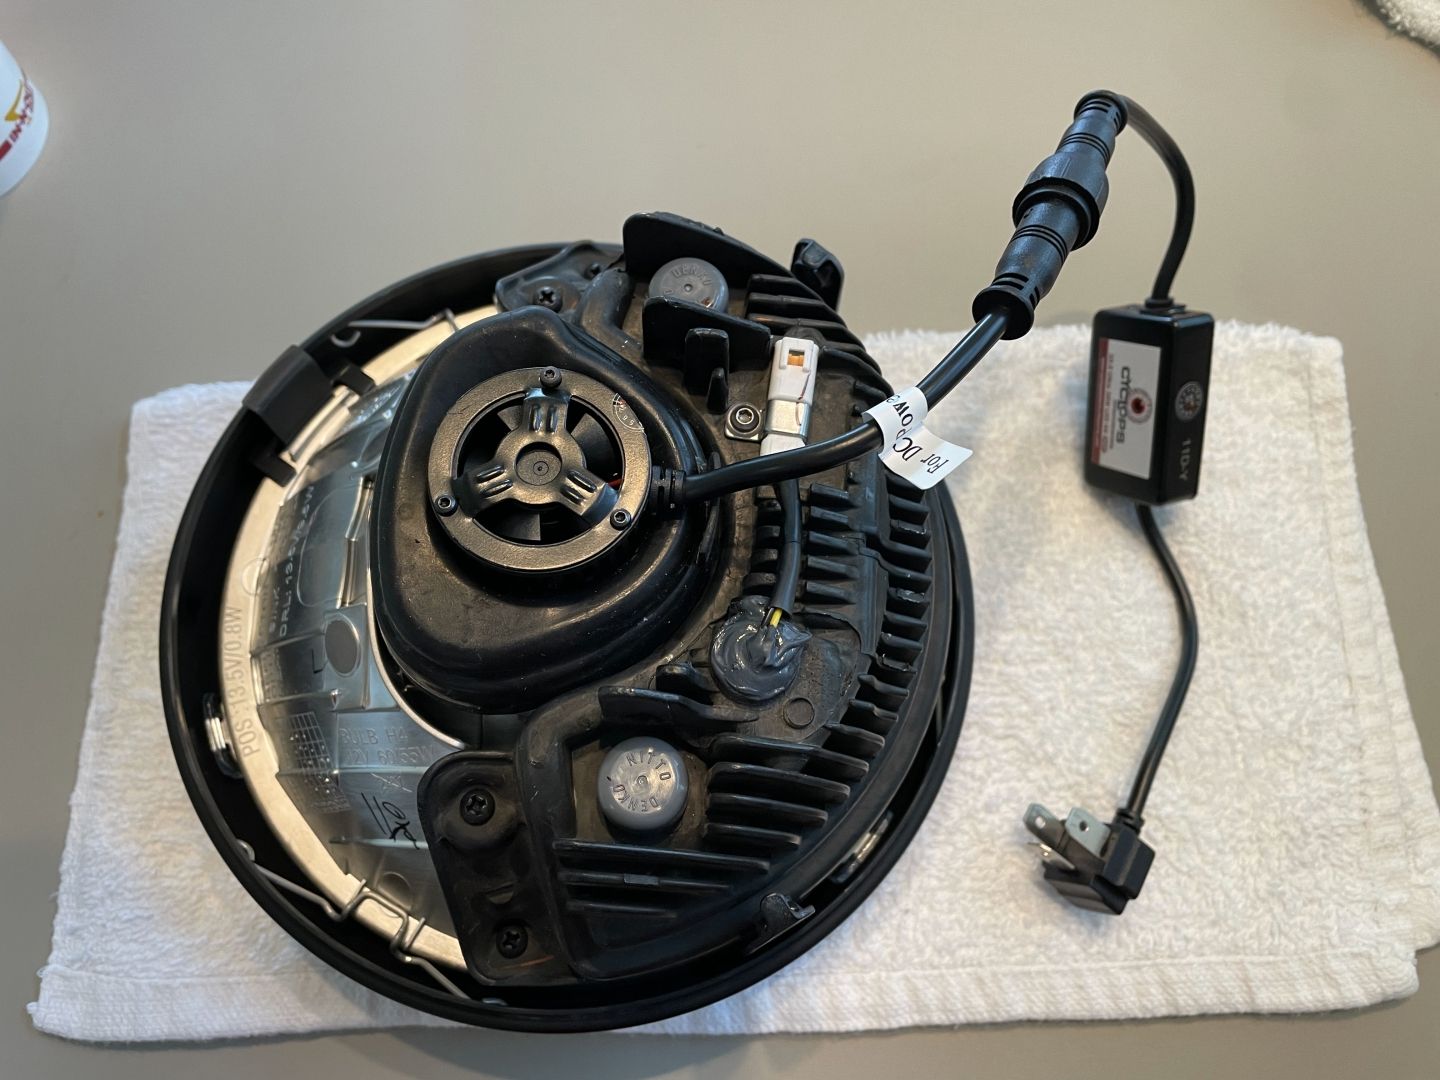
The whole setup.
Reinstallation
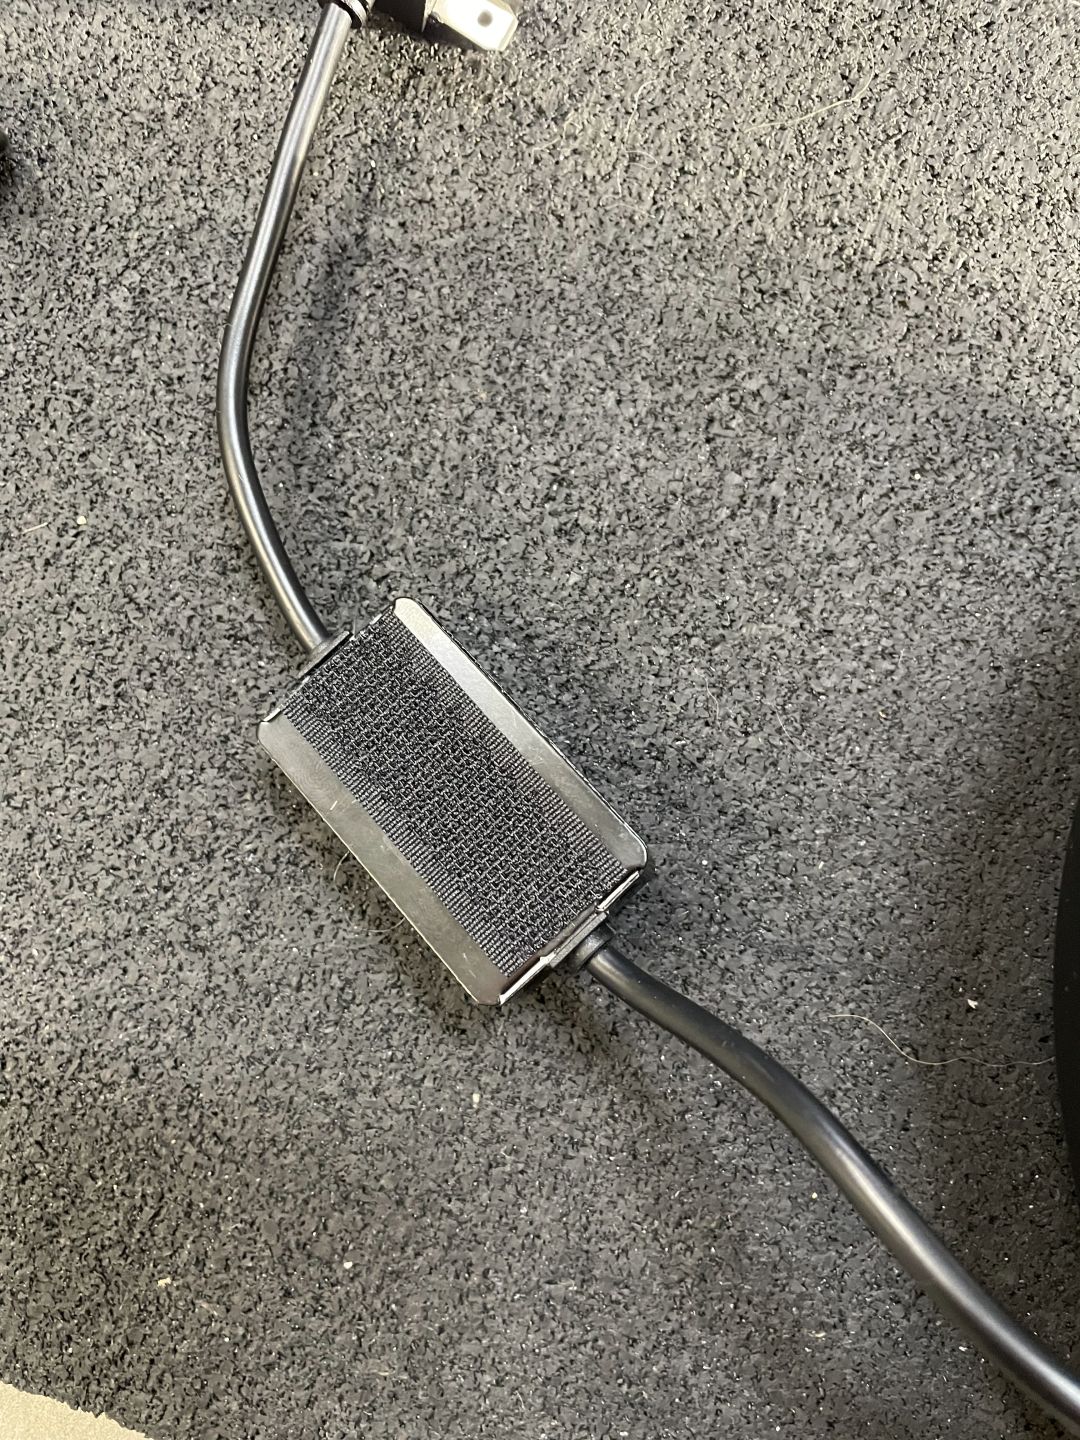
The reinstall is not too bad either, but we need to account for the LED bulb's power supply. I ended up using a piece of velcro with double-sided to tape to hold this thing in place. I reckon that I will have to redo this some years from now! The Triumph headlight housing is fairly roomy and everything will just fit. If you feel like you're forcing the light back into the housing, something is wrong. It should all fit together easily!


Conclusion and Results
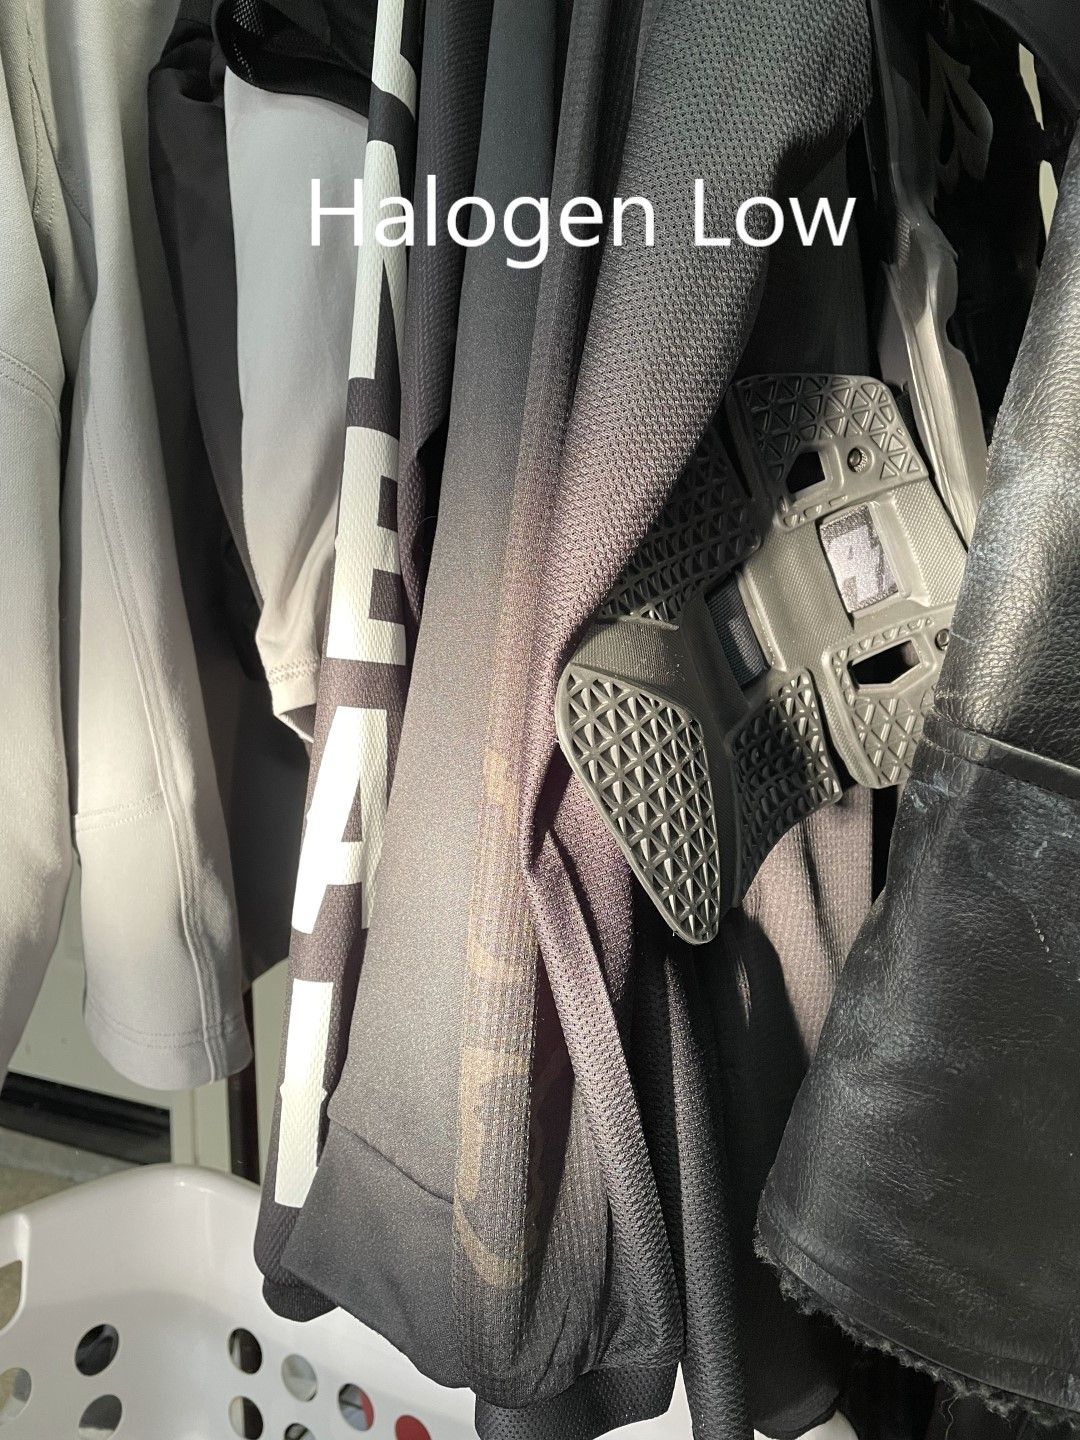
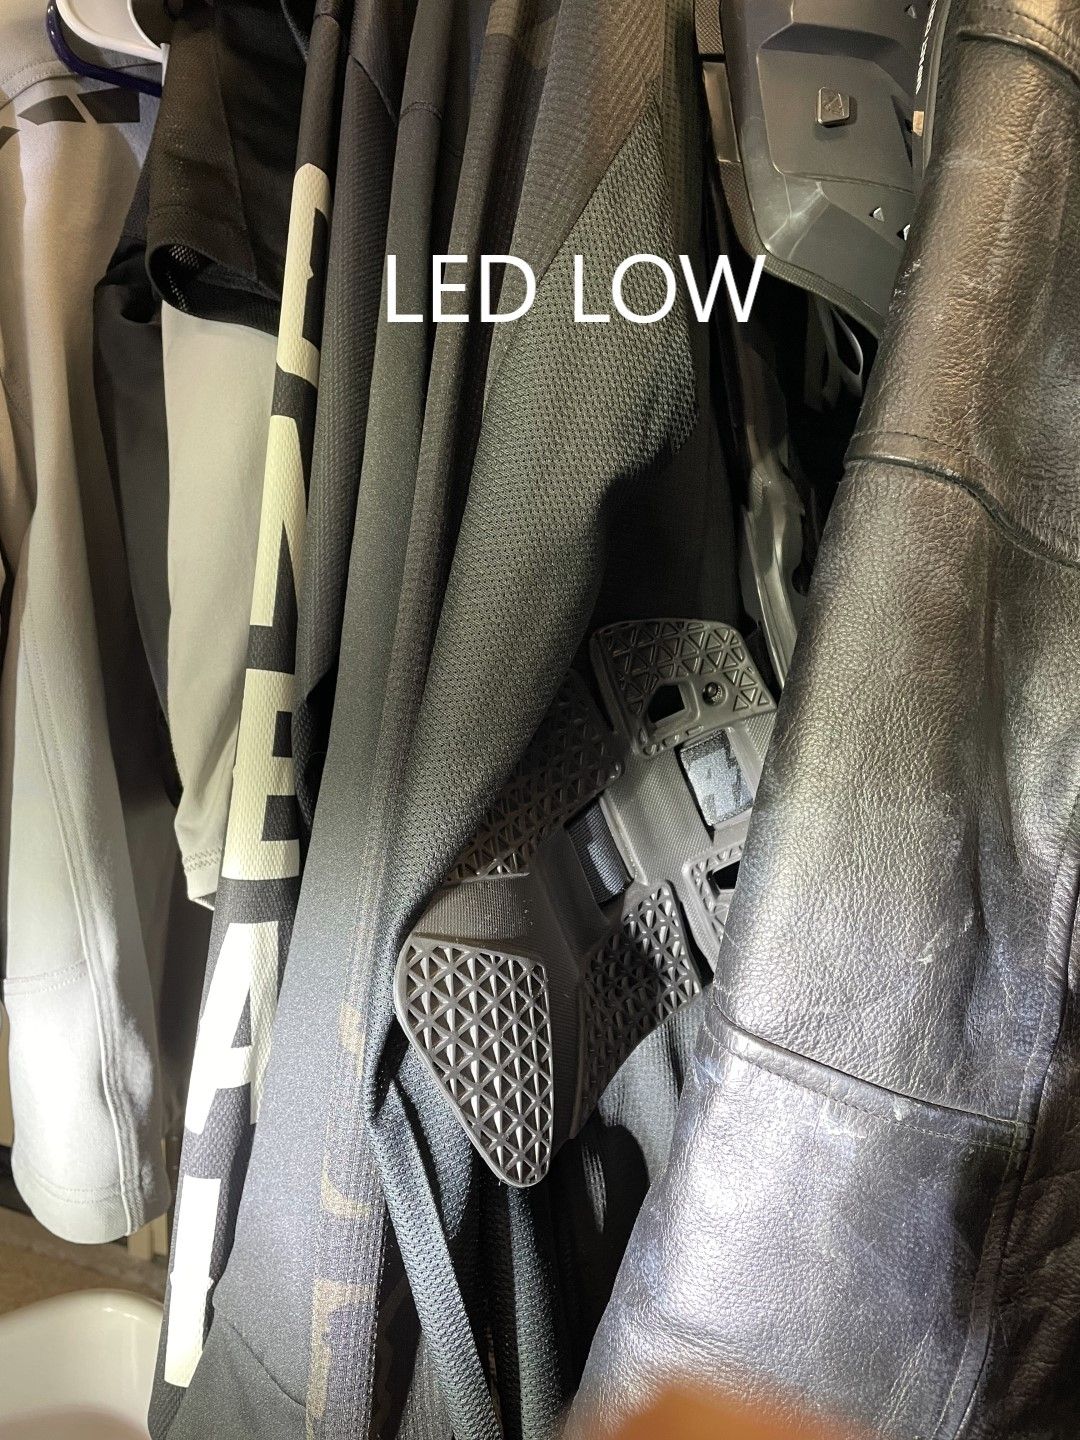
I had two goals with this install and that was to increase the light output and to increase the color temperature. The style might not work for everyone, I understand that but I do enjoy the look. The output is a lot brighter, so much so that it mostly drowns out the Triumph OEM LEDs in the lower light but the improvement is worth it and my goals were accomplished.


